
Cattails
Cattails are usually a burden for most wetland managers. We’ve been eating the invasive ones- the way I’ve been told to tell one from the other is that the invasive cattails have a gap between the male and female flowers and the native one does not. If you see a gap feel free to eat it! This is just one product from the cattail at this time of year (June), we’re also eating the peeled young shoots that are emerging- so good in a summer salad with oil and vinegar.
To make this dish, first harvest the part pictured – the unripe male flowers (formed above the female flowers on the stem). Steam for 5-7 mins and eat with salted butter and black pepper. Eat the outer portion the same way as eating sweet corn – you are left with a ‘cob’ of sorts at the end. They are really nutty and filling.
You can also eat the pollen from the male flowers that are further developed. If we had left these flowers to form we could have gotten the pollen. Use in a tempura-like breading.

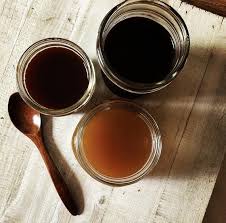
Elderberry Syrup
There are several elderberry syrup recipes online. We like this one because it has a 1 year shelf life. Elderberry is an immunostimulating herb, which means it should only be taken when you feel sickness coming on. It may cause problems for those with autoimmune conditions. Consult an herbalist!
Step 1: Make brandy tincture 2+ weeks ahead
- ½ cup dried elderberry or 1 cup fresh ripe dark purple elderberries
- 1 cup brandy (at least 40% alcohol, 50% is better for a longer shelf-life, if you can find it)
Place elderberries and brandy together in a quart jar. Cover with a lid. Shake well. Set aside. Shake daily for 2-4 weeks. The more time, the more potent the tincture. Finally, strain with a “potato ricer” or similar tool, reserving the liquid tincture.
Step 2: Make elderberry syrup
- ½ cup dried elderberries or 1 cup fresh ripe purple elderberries
- 2 inch piece of fresh ginger, sliced or 1tsp dried ginger (optional)
- 1 cinnamon stick or 1tsp cinnamon (optional)
- 4-5 cloves (optional – we also like spicebush instead here)
- 3 cups water
- 1 cup raw, local honey
1) Pour water into a medium saucepan and add berries and spices. Bring to a boil, then reduce heat and simmer covered for 30 minutes, until liquid has reduced by about half.
2) Smash the berries to release remaining juices and then pour through a strainer (potato ricer) into a glass jar or bowl. When the juice is cooled to lukewarm, add honey and elderberry brandy tincture and stir well.
3) Once solution is well mixed in, pour your shelf stable elderberry syrup into sanitized jars. (Sanitize by boiling in water for 10 min.) Cap tightly. Label and date.
Lasts 1 year. Refrigerate after opening. NOTE: You can substitute elderberry fresh flowers instead of fruit!
Herbalist Jim McDonald has a great write-up of Elderberries and their medicine. Click here to read it. One highlight – to make your syrup ingredients more local, you can substitute optional ingredients with, “calamus root in place of ginger, false solomon’s seal berries (taste like anise), spicebush (tastes kinda allspice-y), rosehips and staghorn sumac-aide.”
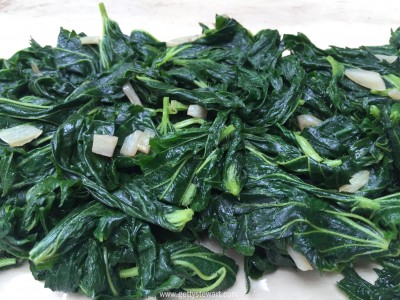
Sauteed Nettles
Stinging Nettles are amazing. They are packed full of minerals – which all of us are deficient in – and they help fight allergies. We eat tons of nettles when we can – which is only the spring and fall, before the plant has flowered. NEVER HARVEST NETTLE AFTER IT HAS STARTED TO FLOWER (it has a crystal molecular structure that will cut your insides up!).
With the fresh young nettle, we harvest the whole above-ground plant parts. WEAR GLOVES the whole time you are handling nettle. We aim for the most tender parts – the less woody the best. Only harvest from large patches, and never take more than 1/3rd of the patch. We cook them in everything, eat them like collards greens, put them in soups or fritters or anything we want. Probably our favorite way to eat nettles is sauteed!
To make this dish, simply saute the nettles (stem and all) in the oil and seasoning of your choice. They are done when you like the texture. Some people like them soggier than others. The sting will go away as soon as the nettle is cooked in the heat and its tougher parts soften. Click here for a full article on sauteing nettles.

Nettle Crisps
Everything tastes best with oil and salt! Try these crisps instead of potato chips.
- A bowl full of young nettle leaves
- 2 tablespoons oil of your choice
- 1 teaspoon salt
- Freshly ground pepper
Wash and dry the nettles, stripping the leaves from any stem. Wear gloves! Combine all seasoning ingredients of your choice in a large bowl. Toss in your leaves, so they get a good coating. Place the nettles on a baking sheet in a single layer. Note the leaves will still sting at this stage so take care and DON’T be tempted to try one yet! (Cooking the leaves will denature the sting). Bake in a low oven around 250 F until they crisp up. How long the nettle crisps take will depend on how much moisture is in the leaves, maybe 25 minutes, turning them over once during that time.
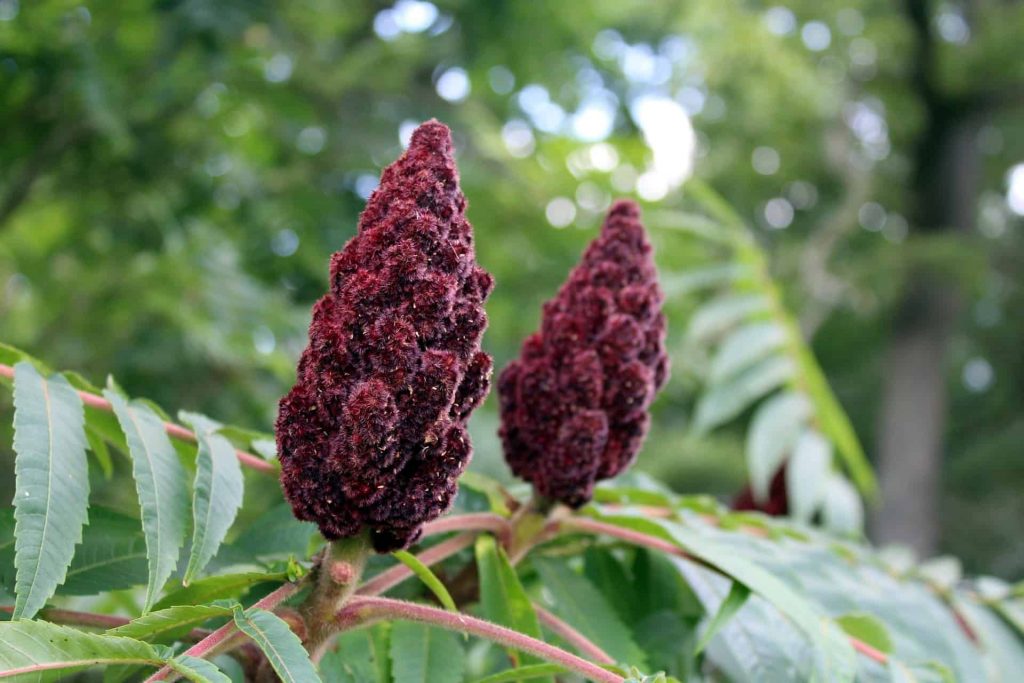
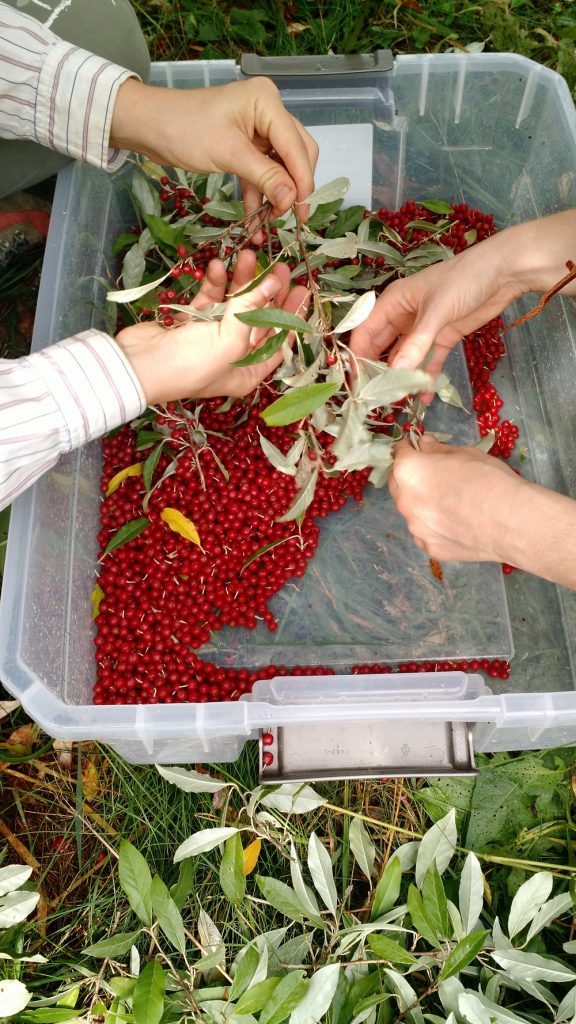
Sumac Pink Lemonade
Make a delicious nutritious summer drink out of native plants! There are 2 common Sumac species with clusters of red berries that ripen in the summer. 1) Smooth Sumac, which has smooth berries. 2) Staghorn Sumac, which has hairy berries. These “fruits” are tart and inedible, but they are ideal for making pink lemonade! WARNING: If individual berries are white and loosely formed, steer clear, these are poison Sumac and will cause poison-ivy-like affects!
Harvest when ripe and pink, beginning around July and going into Fall. Best harvested after a couple sunny days—rain washes off the lemony flavor.
- Remove the berries from their clusters, using a fork
- Place 6 clusters worth of berries into a 1/2 gallon jug and fill with warm water
- Let it sit for 1-2 hours until the liquid is a deep pink color
- Strain through a colander and drink the liquid!
- Some prefer to add sweetener and ice before serving
With Staghorn Sumac berries, it is advisable to filter the drink to remove any fine hairs that may be an irritant.
Try cooking rice or noodles in Sumac Pink Lemonade for a little extra flavor! It is also nutritious in Vitamin C and more!
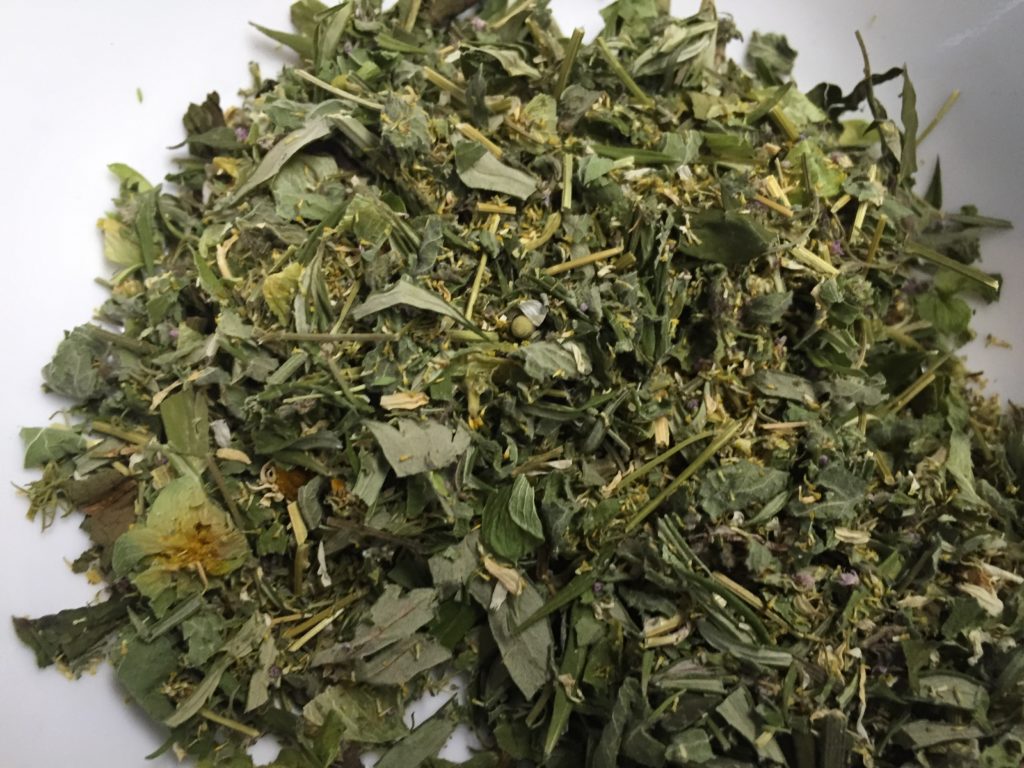
Herbal Smoking Blends
While it is true all smoke is carcinogenic, many tobacco smokers use herbal smoking blends to treat lung ailments, and curb their dependency on tobacco. We grow and sell an herbal smoking blend in our online store for our smoking friends. We make it a little different every year, depending on what herbs grew and dried well for us. Here’s how we do it….
Herbal smoking blends are usually comprised of 3 categories of herbs:
- The carrier or base herbs – this is the bulk of the mix. Mullein is usually the base we use.
- Herbs with a specific supportive role – such as nervine calmers, anti-viral herbs, or dream-inducing plants. For this we like Mugwort, Oregano, Thyme, Tulsi, Hops, Catnip, Sage, etc.
- Herbs used for flavoring – just a small amount is needed, and flavoring is optional. We like mints or no flavoring in our blends.
This Herbal Academy article explains more about the function of the 3 categories, and additional plants you can add. They also list herb options for the categories. We consult this article every time we make our blend.
Herbalist Susun Weed has good info on crafting smoking blends, and more herb options you can use. Here are just some that she lists:
- Bergamot (Monarda varieties): rich in oregano oil, an powerful lung antiseptic
- Catnip (Nepeta cataria): roll your own catnip cigarettes to relieve menstrual cramps fast fast fast.
- Horehound (Marrubium vulgare): bitter taste, powerful effect on the lungs.
- Hyssop (Hyssopus off.): powerful penetrating healer of lung tissues.
- Lemon balm (Melissa off.): liberally added to mixes to help fight viral infections.
- Oregano, rosemary, thyme, and sage: antioxidant, anti-infection; aromatic tastes; deep healing
- Peppermint (Mentha piperata): nice taste; nice to the lungs.
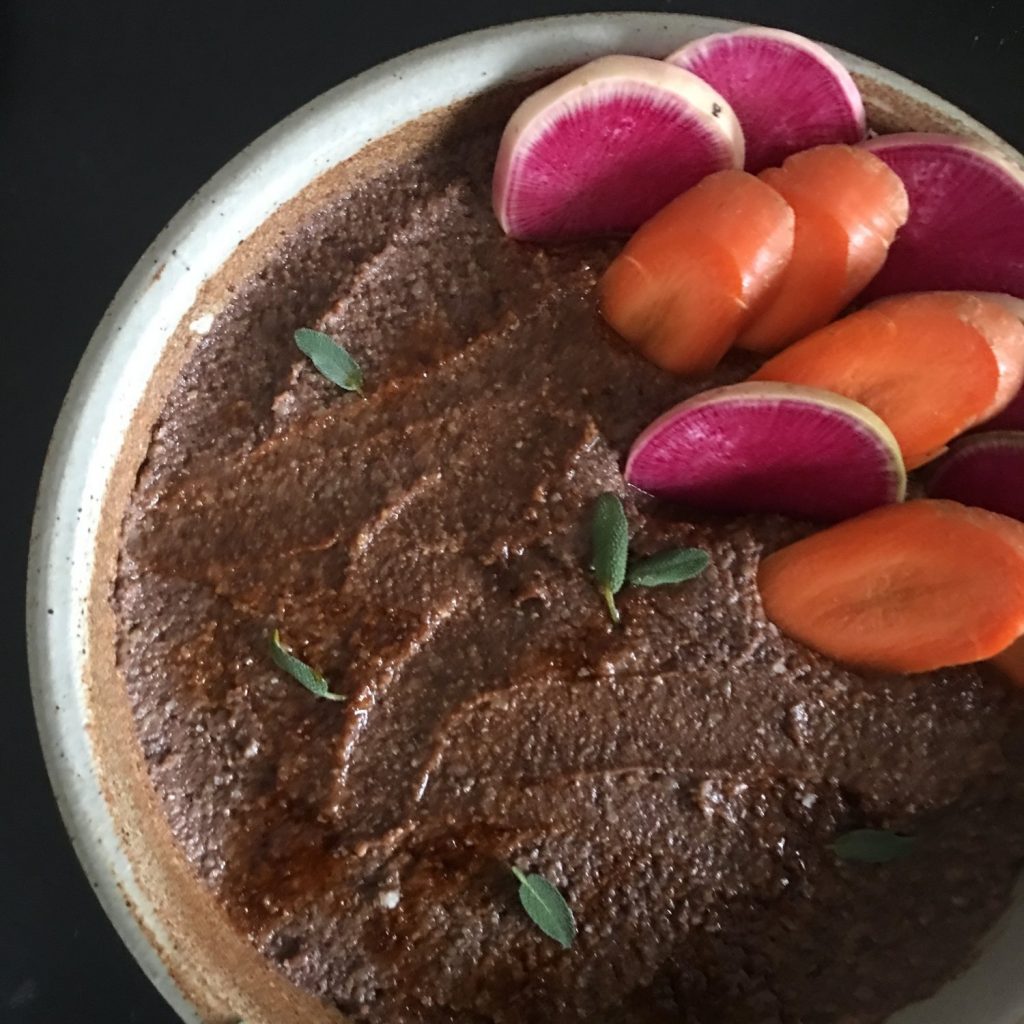
Acorn Hummus
Acorn flour can be substituted for chick peas in almost any hummus recipe. Here is one:
-3 cups of acorn flour (see leaching instructions below)
-1/2 cup of tahini
-1/4 cup extra virgin olive oil
-2 garlic cloves (or more to your liking) mashed and roughly chopped
-1/4 cup freshly squeezed lemon juice
-1/2 cup water
-1/2 teaspoon of salt
Puree all ingredients until smooth – adjust taste to your liking.
(adapted from Simple Recipes)

Processing Acorns into Flour, the cold leach method
–Harvest acorns – learn about different kinds here
–Remove the shells – only use good-looking acorns
–If acorns are dried, soak them in water for a day or two. If they are fresh, skip this step
–Puree acorns until they are mush
–Put mush into a container much larger than the mush. Fill the remaining space with water. More water means faster leaching, less water means slower leaching.
–Every day for a week or less, pour the water off the top of the container and re-fill with fresh water. You are leaching the tannins out of the acorns. Taste the mush every now and then. Tannins are astringent to the tongue.
–When your mush stops tasting like anything, you are done and ready to use the acorn flour. Some people dry the flour out to store, but most people just use it wet. (acorns store best in their shell, kept in an air-tight container, protected from critters, NOT in flour form where they are more susceptible to bugs and mold)

Autumn Olive Tart
You can substitute autumn olives (Elaeagnus umbellata) in place of raspberries in most berry recipes. Autumn olives are too astringent to eat until they are fully ripe. Once ripe they have a tart, sour flavor. They blend really well with very sweet berries (like mulberries!).
FILLING – PUREE
2 cups of autumn olive fruit pulp
1/2–1 cup sugar (to taste)
3 tbsp. flour
CRUST (you can substitute another tart crust recipe)
1 cup all-purpose flour
1/3 cup sugar
1/8 tsp. salt
1/3 cup finely ground hazelnuts
1 egg
1 stick butter
Preheat oven to 400°F. Cut the butter into the dry ingredients to pea-sized chunks. Beat in the egg and press dough into an 11-inch buttered tart pan. Bake the crust until golden brown, about 12 minutes. (or follow directions for an alternative tart crust, if you are substituting)
Press autumn olive berries through a victoria strainer or squeezo to collect fruit pulp. Add sugar to taste. The pulp will be watery. Add the flour, which will thicken the puree and somewhat slow the separation of the juices. Pour the berry puree over the crust. Bake until puree bubbles (about 10 minutes), cool, and serve.
(Adapted from this Northern Woodlands article.)
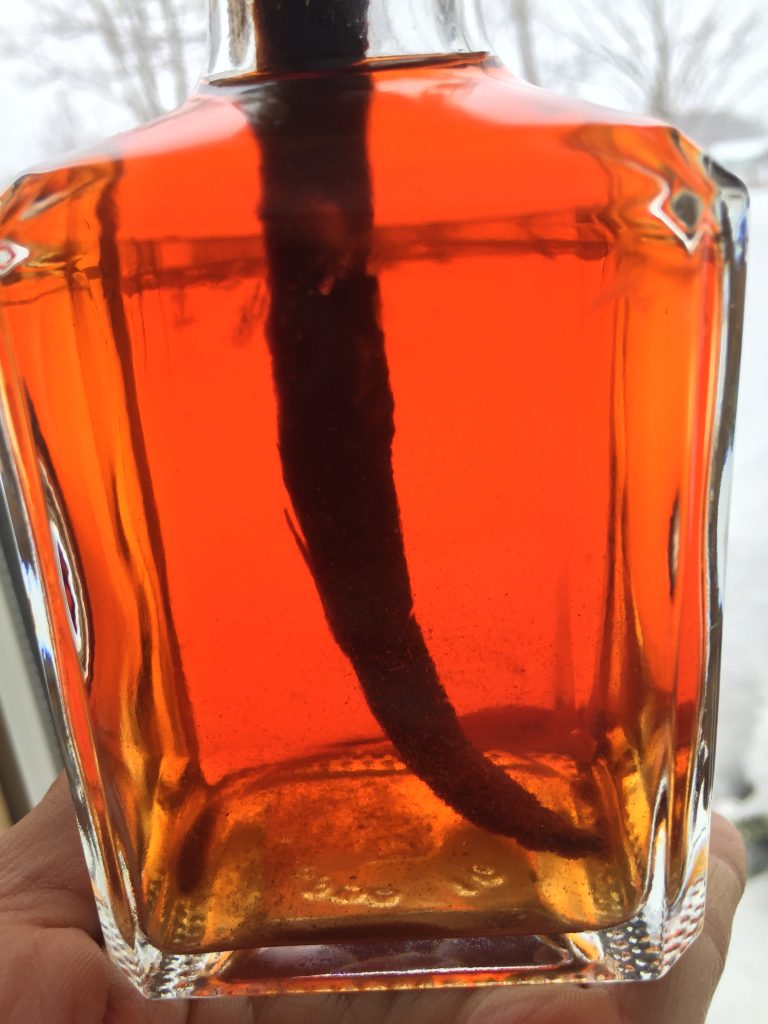
Wild Cherry Bark Syrup
1 oz Fresh Cherry Bark
3 cups water
2 cups sugar (or 1.5 c raw honey)
1 Tablespoon vodka or lemon juice (optional)
Combine crushed *fresh cherry bark with water in a jar. Let it *cold infuse on the counter for 12+ hours. The water will change color. When it’s a nice strong color, strain out the solids – squeeze solids to get all liquid out. Add sugar or honey to the liquid, mix well. Keeps in a sterile jar for 4+ weeks. (Optional: stir in vodka or lemon juice to preserve long and well.)
*Because of the possible cyanide components of cherry bark as it breaks down, we recommend using fresh bark only and cold infusion instead of hot infusion.*

Elecampane Syrup
2 Tablespoons dried Elecampane Root
3 cups water
2 cups sugar (or 1.5 c raw honey)
1 Tablespoon vodka or lemon juice (optional)
Combine crushed Elecampane root with water in a saucepan. Simmer on low for 20 mins. Strain out the solids – squeeze solids to get all liquid out. Add sugar or honey to the liquid, mix well. Keeps in a sterile jar for 4+ weeks. (Optional: stir in vodka or lemon juice to preserve long and well.)
Witch Hazel Topical Solution
1 Tablespoon Witch Hazel Bark
1 Cup water
25% alcohol (optional)
Combine crushed Witch Hazel Bark with water in a saucepan. Simmer on low for 10 mins. Strain solids – squeeze solids to get all liquid out. Use liquid topically to clean & tighten skin, wounds. Keeps in a sterile jar for 3+ weeks.
(Optional: add 25% alcohol to preserve for years.)

Chokes Au Gratin
Note: If you are looking for ways to cook chokes, most potato recipes can be followed substituting chokes for potato equally. The exception is chokes take a little longer than potatoes to cook through, so give your dish more cooking time than the recipe says. If you are mixing roots together and want them to cook evenly, try boiling your chokes about 10 min first, then follow your potato recipe instructions.
-2 lb Sunchokes (Jerusalem Artichokes)
-4 Tablespoons melted butter
-salt to taste
-1 teaspoon ground pepper
-optional spices: nutmeg, spice bush, cinnamon… use tiny amounts
-fresh garlic to taste
-1/2 cup onion, finely chopped
-1 cup cheese of your choice (parmigiana, sharp cheddar, gruyere, etc)
-1 cup broth (chicken broth, or milk or cream, or half broth half cream, etc)
1. Thoroughly clean your chokes first. Cut into 1/4 inch slices
2. Add butter to 13″ x 9″ baking dish
3. Layer chokes, onions, garlic evenly in the casserole dish
4. Add spices: pepper, salt, etc., into the dish as you layer
5. Pour broth across whole dish
6. Last add cheese
7. Cover and bake on 375 degrees for 40 minutes or until tender when forked
8. Uncover and bake 20 more minutes or until golden brown and bubbly
(Adapted from various online articles and experimentation.)
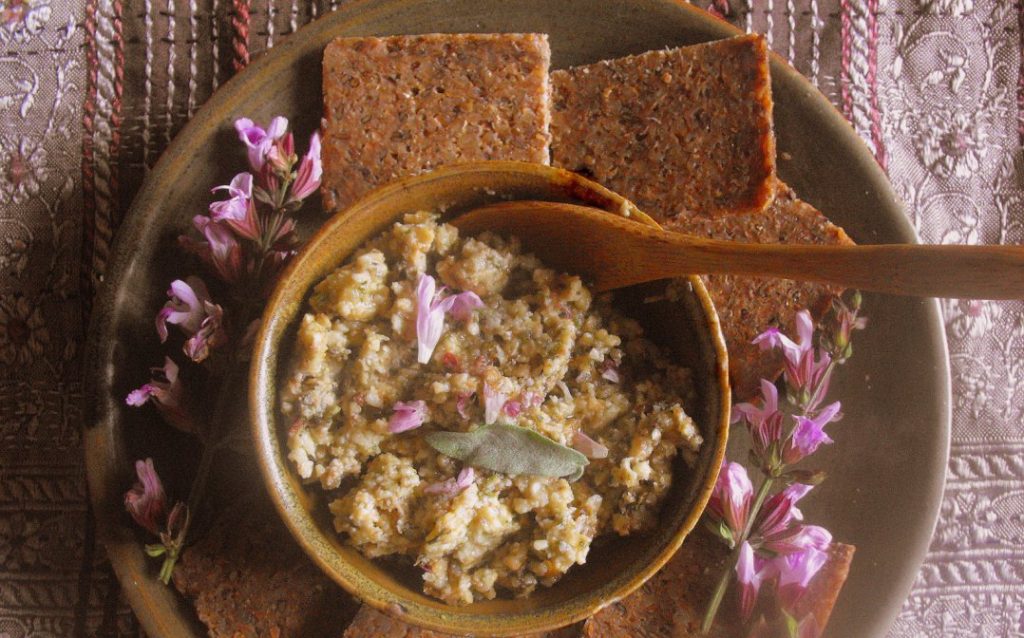
Sage Blossom Pesto
-2 cups sage flowers (leaves are okay too)
-1/4 cups roasted nuts (cashew, walnut or pine nuts)
-1/2 cup olive oil
-1 clove garlic, peeled
-1/4 cup of onion coarsely chopped
-1/4 cup of Parmesan cheese
Instructions
1. Remove sage leaves and blossoms from plant stalks, if you haven’t already
2. Roast your nuts, if you haven’t already. It’s also yummy to roast your garlic and onion.
3. Put all ingredients in a food processor and pulse until you get the consistency and texture you like (chunky or smooth)
4. Toss with any cooked pasta, rice, or root you like for a yummy meal!
5. Can also toss with salad greens and use the pesto like a dressing. Or place in a serving dish, top with a dollop of olive oil and squirt of lemon. Use as a dip.
(Adapted from: https://gathervictoria.com/2016/05/27/savory-sage-blossom-pesto-a-culinary-spell-for-youth-beauty-and-wisdom/)

Red Beet Macaroons
-3/4 C dried beets (can use sugar beets, red beets, etc). Shred the dried beets, or grind to a powder
-5 Tbs cane sugar
-2 tsp. flour
-1/4 tsp. vanilla extract
-5 Tbs unsalted butter
-2 lg eggs, whites only
Mix all ingredients, chill in the fridge for 30 minutes. Consistency should be a little thicker than pancake batter – if it’s runnier, let it chill longer. Preheat oven to 350 degrees. Plop tablespoonfulls of batter onto an ungreased cookie sheet, leaving plenty of space between the cookies. Bake for 10 minutes at 350 until browned and firm.
(Adapted from Chelsea Gandy’s recipe, Fox Hollow Farm, Fredericktown, OH)
The perfect companion dessert to the Red Beet Macaroons is custard! Double the macaroon recipe so you have 4 egg yolks leftover.
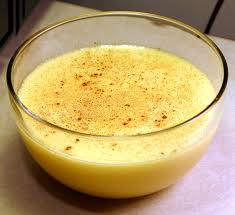
Baked Custard
-4 lg eggs, yolks only
-2 C milk
-1/4 – 1/2 C cane sugar
-1 tsp. vanilla extract
-a pinch of cinnamon
-optional ingredients: 2-3 Tbs cocoa powder, raisins, a few Tbs jam, dried fruit, a pinch of ground spice bush
Preheat oven to 300 degrees. Whisk all ingredients thoroughly. Put them in a double boiler (a bowl resting in a pot of shallow water), and put this in the oven for 1 hour, or until the top is firm. Remove from the oven, and when cool enough to put in the fridge, chill a couple hours. Serve cold.
(Adapted from the Joy of Cooking, Iram Rombauer and Marion Rombauer Becker)
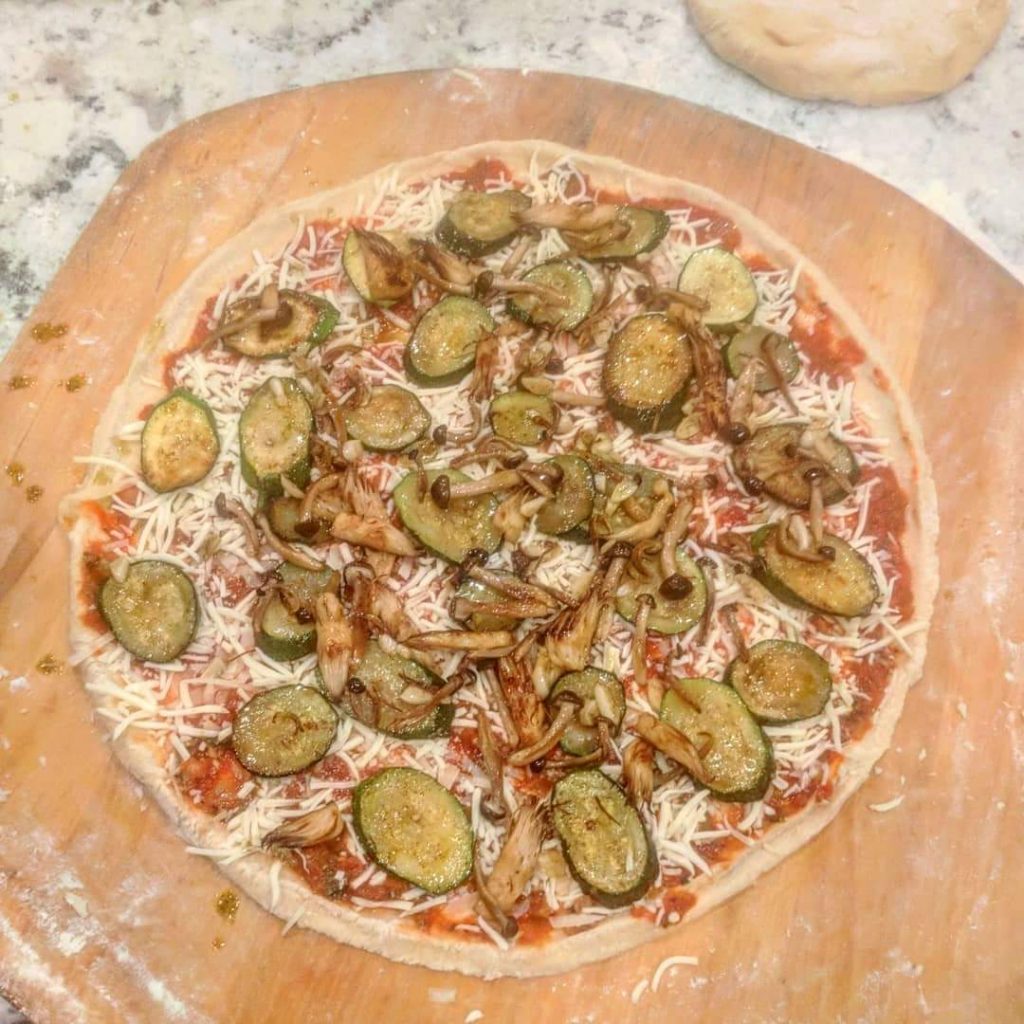
Lion’s Mane Mushroom Pizza
Quantities of these ingredients are all: as much as you want on your pizza
-Lion’s Mane Mushrooms
-Sliced Garlic
-Zucchini or other toppings (optional)
-Pizza Sauce
-Cheese (optional)
For the dough – use your favorite pizza dough recipe! Ours is roughly this: Use equal parts organic white flour and organic whole wheat flour, plus some organic barley flour. Salt, sugar, olive oil, yeast, water. Work by hand. Let rise 30-40 minutes. Roll and stretch.
Cut up the amount of mushrooms you want on your pizza – as thin as you like them, but not too thin because of the next step.

“Sweat” the mushrooms (and other vegetable toppings) in a dry pan – put the pan on very low heat for awhile with the mushrooms sitting inside. Until both sides of each piece are golden brown. Watch the pan to make sure you are “sweating” the mushrooms and not cooking them.
Fry mushrooms (and other vegetable toppings) in butter
Add sliced garlic – as much as you like – 1 minute before removing from heat
Add all ingredients to dough with sauce
Pre-heat oven to 475. When ready, bake pizza 15-20 minutes or until crust and toppings are golden brown. (or whatever your dough directions instruct you to do for cook time and temp)
(Adapted from a post by Experimental Farm Network)
Follow Us!